Thursday, 16 May 2013

Battle of the Gods Board and Pieces, a final review

Overall I'm really pleased with the final outcome, it all folds away nicely, houses everything required to play and looks really cool. I had one person ask me in the woodwork room if I'd carved it myself, and it got me thinking that would probably be a really annoying job to do, but also pretty well paying (or not if a laser etcher can do it perfectly now).

I even included some photos of Sajan playing the game to demonstrate how it would look in action.


I think as a one off this is great, but at 500 odd quid to make it isn't possible for me to make another one anytime soon. Perhaps when laser etching comes down in price massively it will be more affordable, but for now I quite like having just a 1 off heirloom. I don't have any heirlooms, nothing's really been passed onto me except for books (which is good, I like old books) and clothes (my Grandad gave me the green padded shirt I always wear as a coat, he bought it to do gardening work in but never wore it and let me have it, and around 5 years later I was the right size for it, and now because I can keep my notebook in a top pocket I always wear it) and genes. I don't go in for jewellery or anything like that, so I won't have anything to pass on either really. But having made this I think that it's something I can keep stored away and safe until I'm a Dad or Grandpa and get it out then and the little one will be like "Whoa!" and that's what I want most out of all of this I think.

I've often felt that Graphic Design is boiled down to nothing but presentation methodologies, and I don't want to be one of those squeaky clean type designers, I want to be a craftsman. I hope that my Graphic Design training has allowed me to become a better craftsman. If I were to do it all again I would have had the extra parts (like the wooden rims) laser cut as well so that the whole lot was the right sort of smoothness, but otherwise I think it looks suitably cool. 

Designing the playing pieces

The playing pieces went through quite a few changes, starting with the painted plastic figures on top of wood totems, I looked at using just the totems instead, laser etching the 4 sides. Then I decided that my expertise lies in 2d images, and 4 sides costs more than just 1 side, so I should make them more like hexagonal coins than totems.

I took the vectorised drawings of my initial 10 characters and placed them within a hexagon, moving them around until I had a satisfactory window through the hexagon that showed off the character recognisably. Then I wrote the characters name around the edge, initially in my Battle of the Gods font, but at tiny sizes this was difficult to read, then in Carlson Antique, but it was too small to read in this font as well, so I used Garamond because it's like Carlson Antique but more legible at tiny sizes.


When the Monster Tokens first came back from the laser etchers they were burnt all around the edge from the cutting laser going over the same sections twice - this was because I'd laid them all next to each other on the illustrator file and was easily fixed. But I realised another another thing when I saw them, and that was that 9mm monster tokens look kinda naff, so for the 2nd attempt we used plywood the same depth as the cards.


When it came to the cards I didn't really want to change the original design much at all, I prefer the idea of a landscape orientated card, I just needed to update the drawings to all be my own and the text and symbols had to catch up, but otherwise a pretty easy job. With the terrain cards I was able to use what I already had come up with except for Sky, where I'd used a bitmap of a vector drawing I'd done before because the drawing was such a big file (making realistic fluffy clouds) so I simplified this, and with the  Sea card I decided to redo it as it looked like 3 floating turds, so I vectorised a scene of waves, not too dissimilar to the Great Wave off Kanagawa. The cards looked like this when I sent them off to 4D.


When it all came back from the Laser etchers the 2nd time they looked like this:


I decided to leave the paper backing on the back of the cards, as it makes them look more olde worldey. I'm really pleased with how they all came out, it's a shame that I didn't know before I had the board cut that the tokens looked so much better slim than fat. But, these are just 10 out of 40 designed monsters (the additional 30 are split into 6 sets of 5, each having a different sort of focus that I will released (to myself) at a later date as expansion packs) and the extra space in the Monster tokens compartment will be able to house all of the expansion monsters.

When it came to the obstacles I had to get them a little bit smaller than what I currently had, so I went to Camden and met Dan and Anastasia (Anastasia lives in Camden) and they walked me around the markets which I've been to but for a while. I had planned to get rocks the same as the black ones I had but a little smaller, I couldn't see those but I did find some that were like shiny metal, only flatter on 1 side each and a little smaller, which is exactly what I was after. I also felt that being shiny on my wooden board they'd look magical, and I think they do.

Wednesday, 15 May 2013

designing and building the board

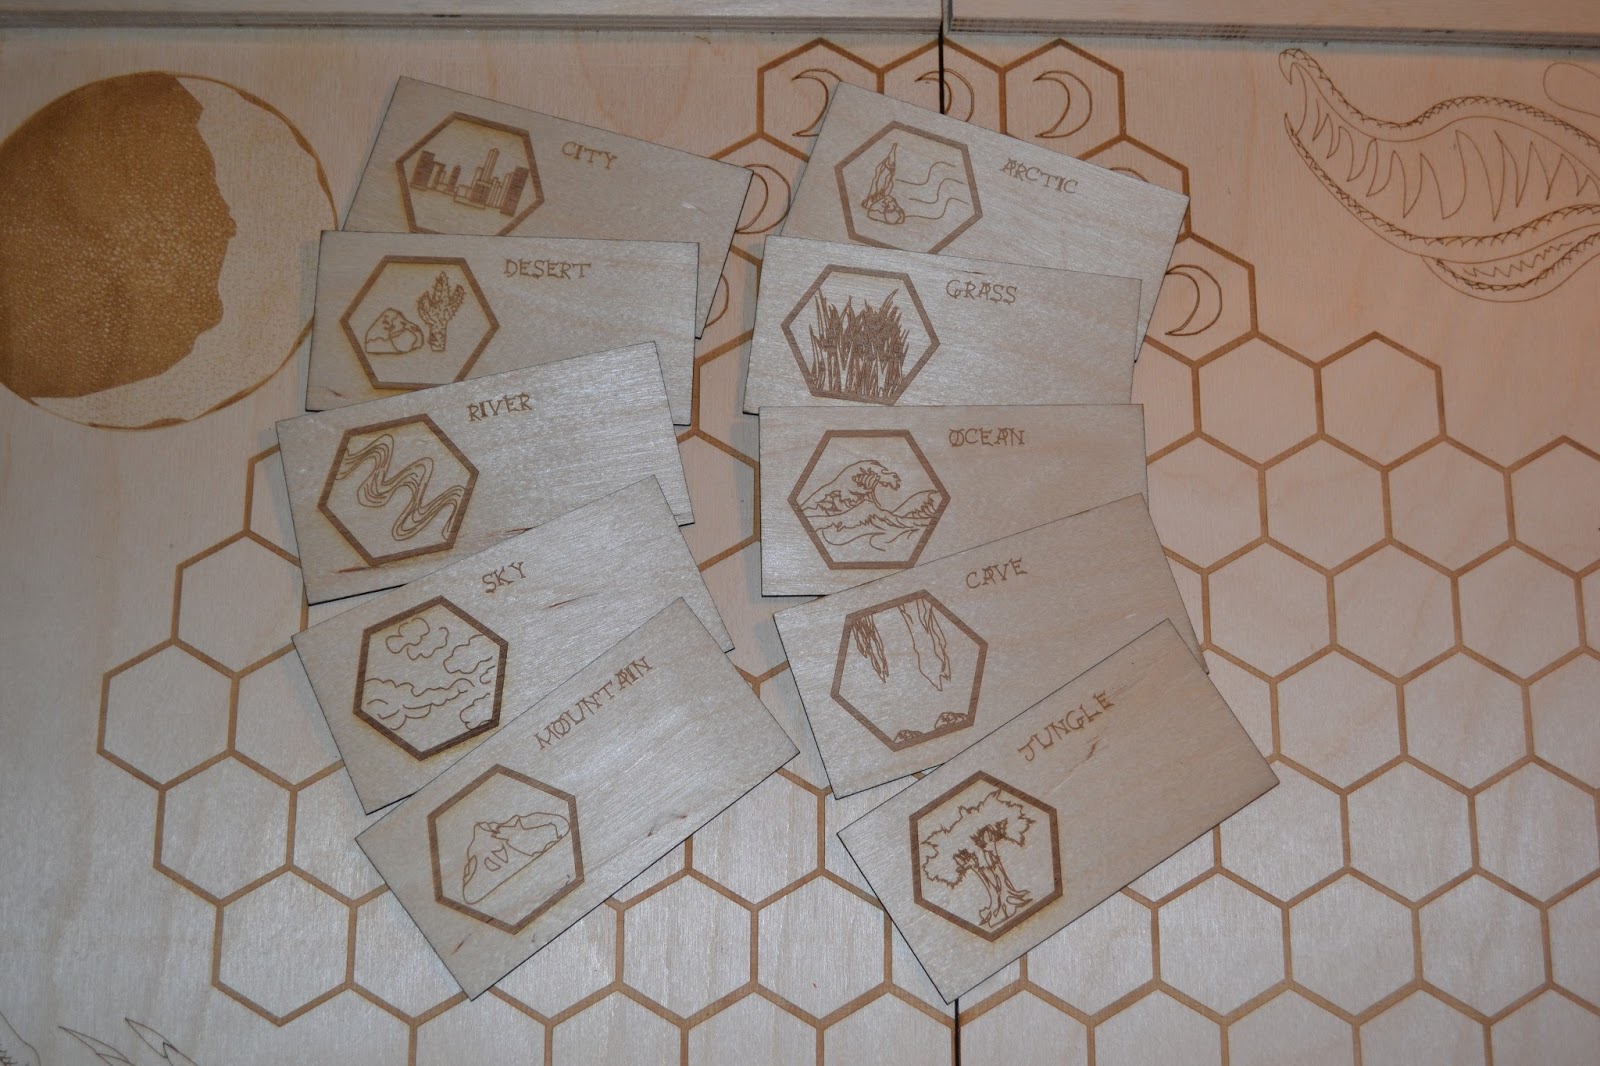
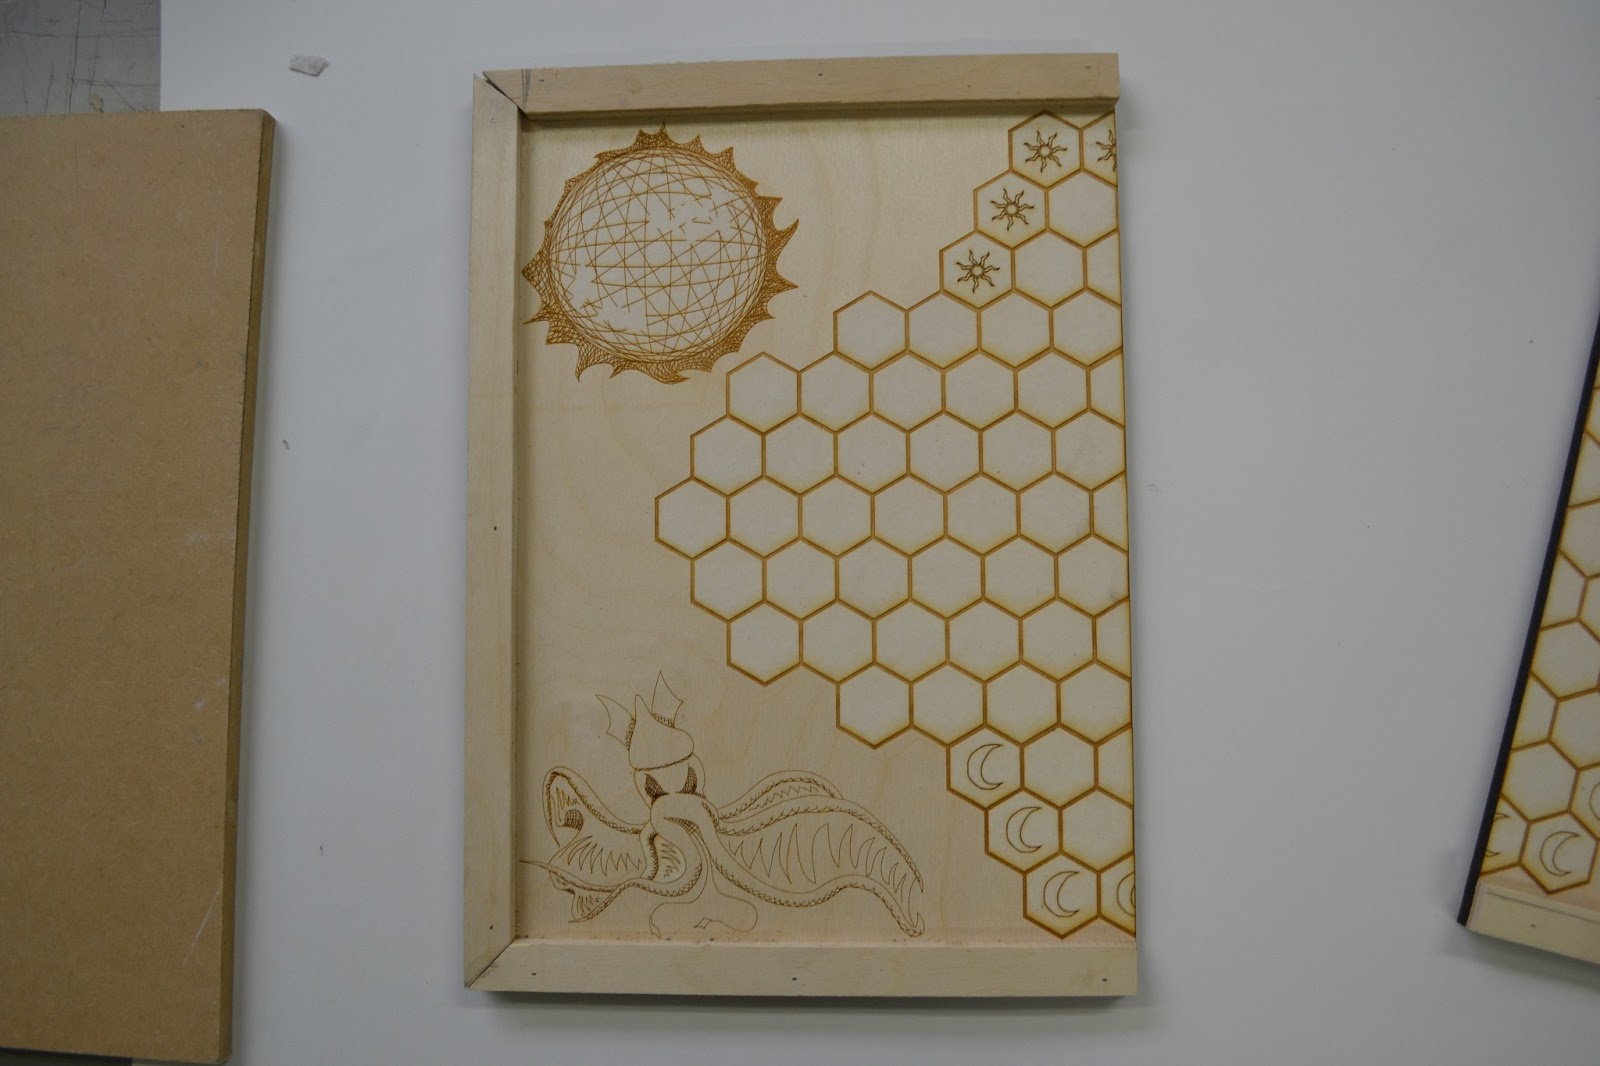
The most important part of the design for me was the playing area, I was really in love with the idea of a Jumanji style board that opened out. And within the board I wanted to have everything necessary to play the game.

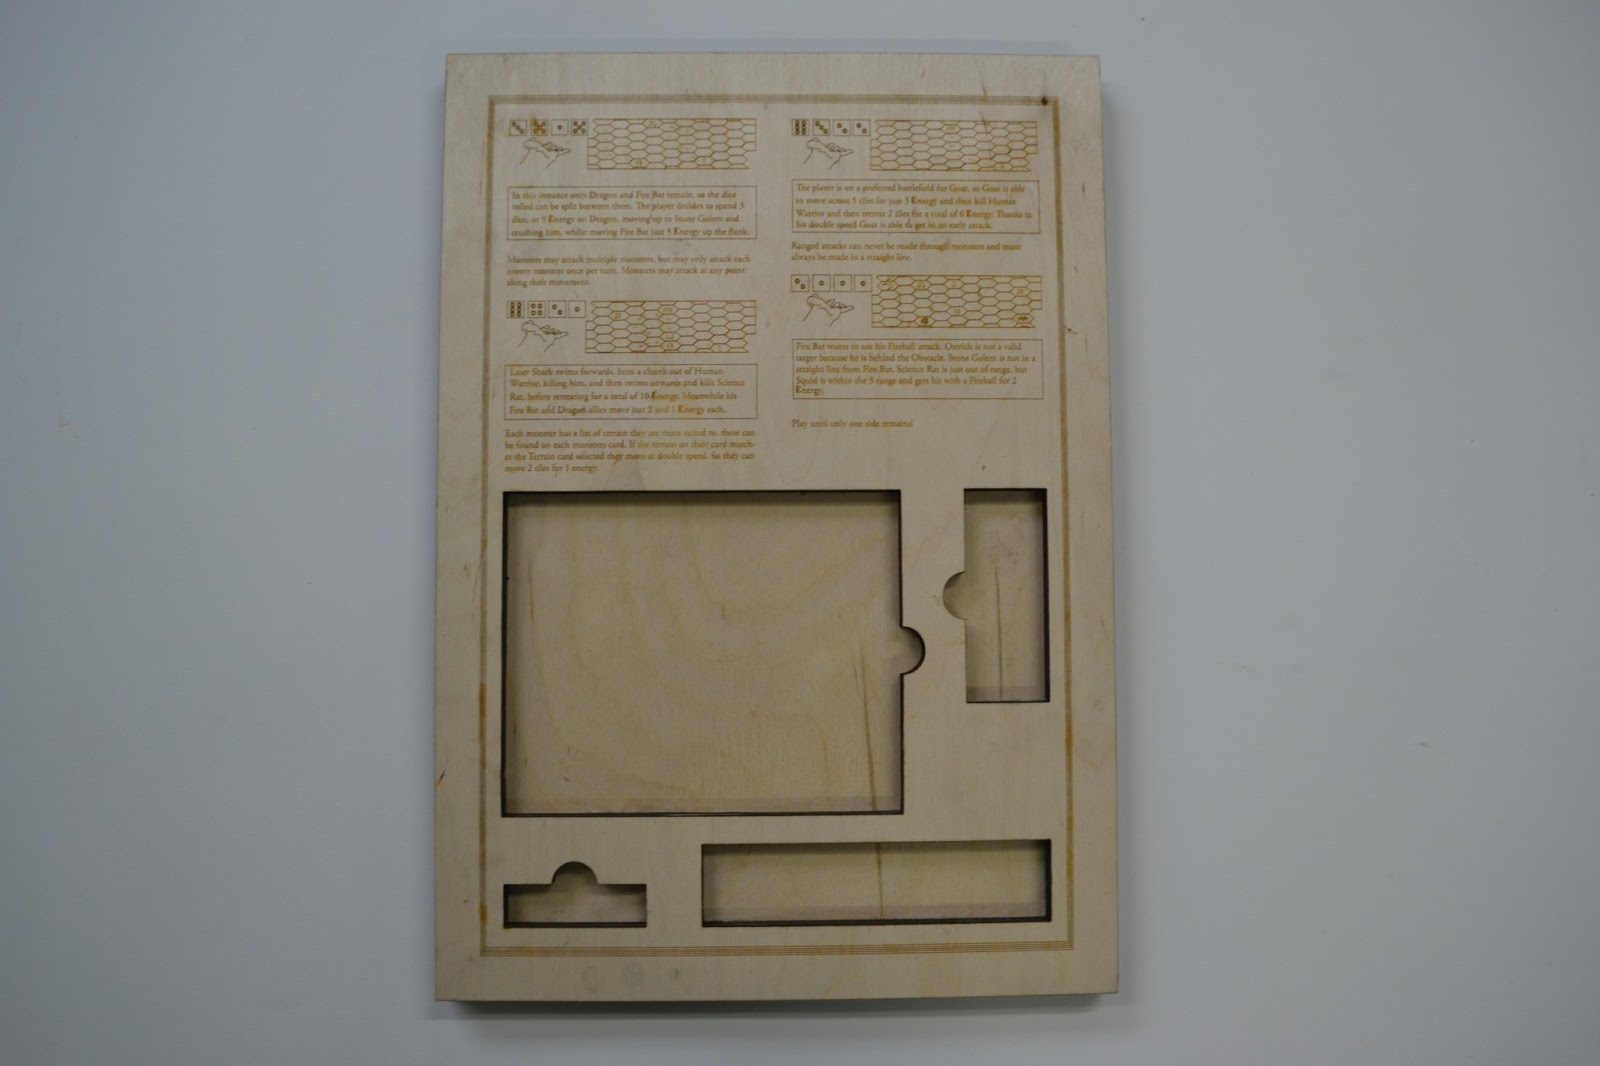
I knew what I wanted to have on the board, I'd already made the prototype and the playing area didn't need to alter at all really, the new part was the fold out lid. On the outside I wanted it to have the logo with the moon and sun motifs, in a way that worked from either side. On the inside I wanted to include all the rules with diagrams explaining how to play the game.


Knowing this I laid it out in Illustrator and printed it out, then I made an actual size mock up of the board and stuck the paper on. This was really useful in getting an idea of the finished product, showing this I feel allowed me to get much better feedback and realise what needed fixing and what would be difficult to get right.


I showed it to Dan Duran first and he said that the text was too big and that my font was illegible. I showed it to Martin Barrett next and he also said that the text was illegible, and that I was wasting the space on the side panels. He felt that they were a good place to put the counters and other playing pieces. He also felt that being A2 size it would be quite unwieldy  and how it would be good if it could fold in the middle. I really liked these ideas and altered the design to accommodate.


To be able to include all the playing pieces I needed more clearance between the playing area and the sides. To do this I decided to make the side panels 2 pieces of wood thick and cut areas out of the inside panel to accomodate for the cards, monster pieces, obstacles, dice and rule book. Then I made the text smaller and changed the font to Carlson Antique because it has the same sort of twisted fantasy feel I wanted my text to have, but way toned down making it much more legible.

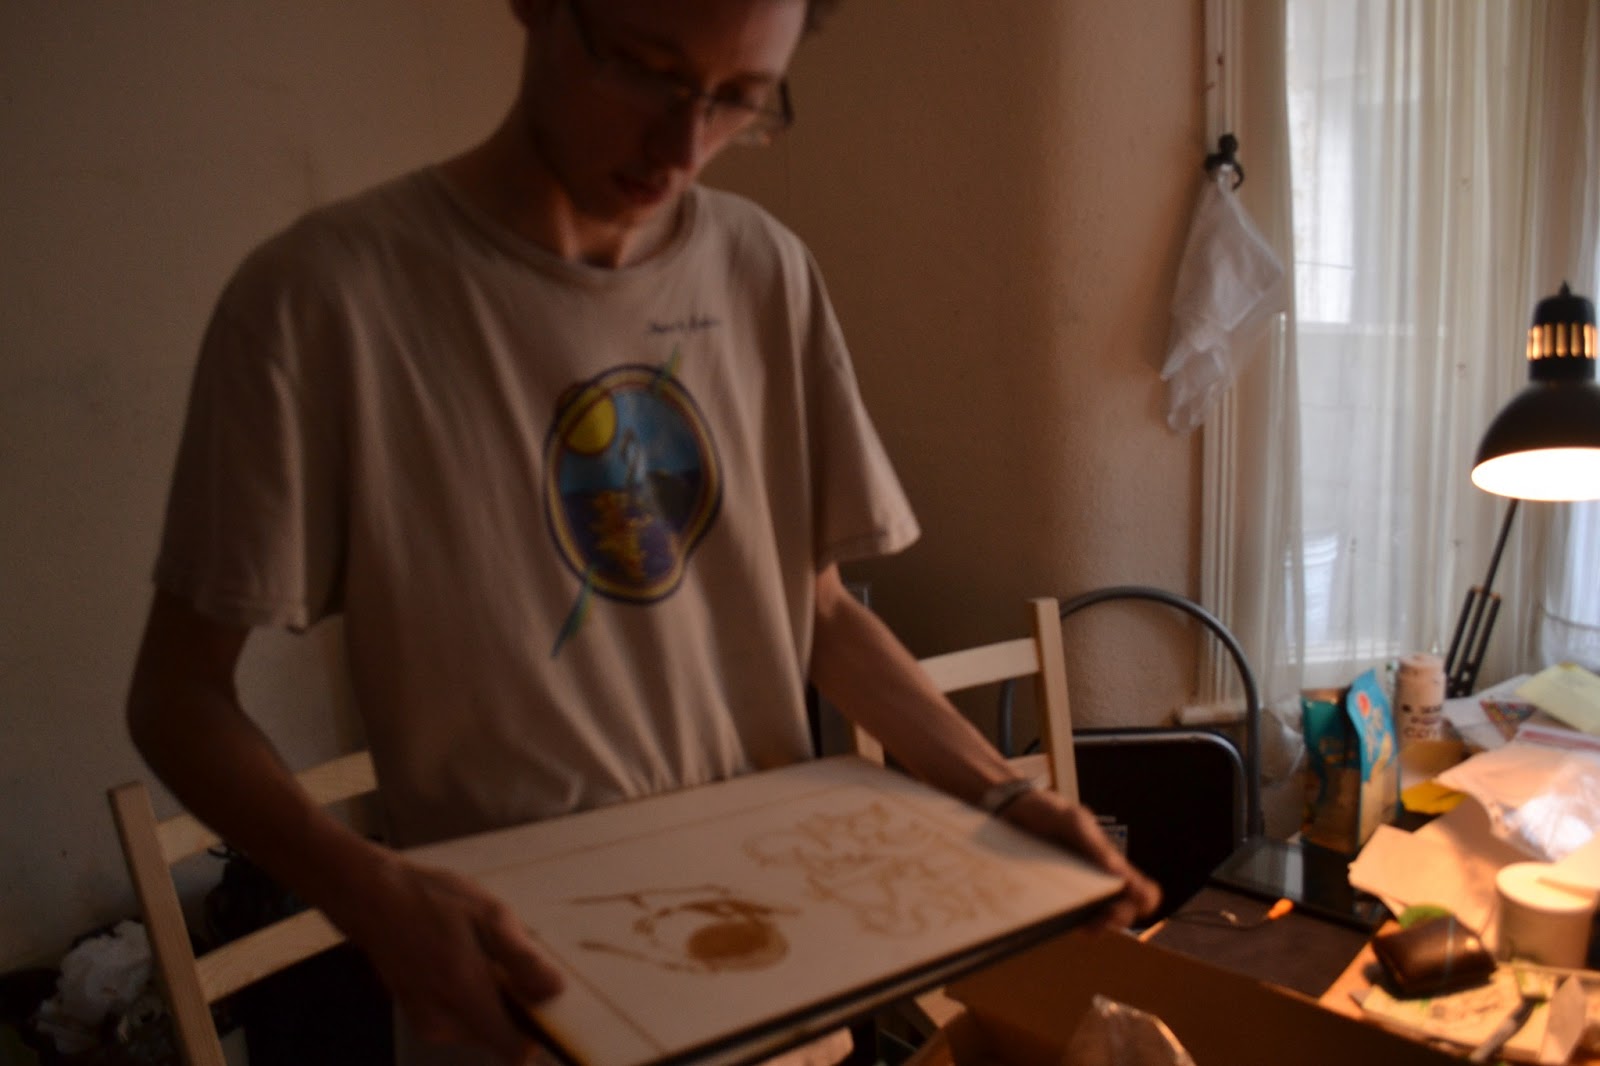
With this sorted I went to the laser etchers with my illustrator files. I had intended to have it done at uni, but the machine was broken for a long time, and I waited for a bit, but then it seemed like the time it would be fixed just kept getting pushed back, so I decided not to gamble and just paid more to get it done at 4D. They were really helpful and sorted me out when I made a few mistakes.

My first mistake was I thought that engraving cut half way through the wood, it doesn't, it's like a mm. So for the sections I'd only wanted to sink slightly, they weren't sunk at all. So I had to get them cut right the way through, they did this free of charge (probably because I'd paid over the odds to have it done wrong).

It was pretty exciting to unbox it all.


I was pretty pleased with how well the designs came out. After I'd had the alterations that I needed made I began on construction.

I glued the front and inside side flaps together, then cut a 2cm strip of wood that runs around the outside edges of the playing area pieces and glued that to the playing pieces. After that I folded it up and realised there would be a gap in the side. I also tried putting the playing pieces in and realised that the dice didn't fit in, which sort of took the piss because I was sure I'd measured it. I went back to the woodwork room and chiselled the side of the dice container, which made it a little scrappier but I can deal with it better than the dice not fitting in. And I also glued 2 more strips of wood to the outer edge of the inside of the side flaps, this completely closed the board when it was all folded up.


With this all done I sanded it down where it looked a bit rough and attached the hinges. This was a much more lengthy and painful process than I had anticipated, as I lacked the proper tools to do it, with only a very poor screwdriver I had to use a knife instead for the most part. In the future I will ensure I have the right tools before attempting the job, as my right hand is currently red raw. I had to use lots of small hinges with tiny screws because I knew I needed a lot of support to lift the weight, but because it is all etched into plywood I didn't want big screws to go in the side and split the wood - it felt like this made the job much longer


I folded it all up, and it works quite neatly, and all the pieces fit into it quite nicely.